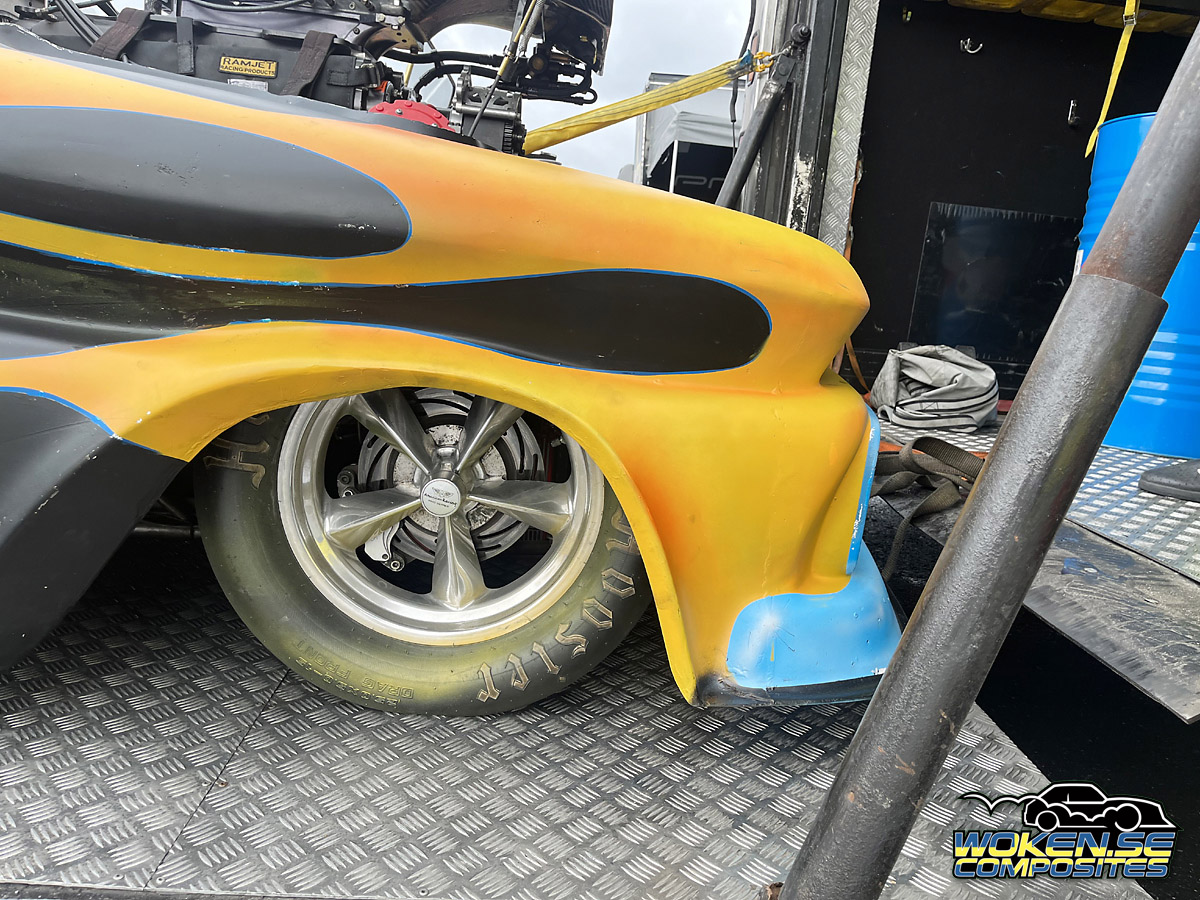
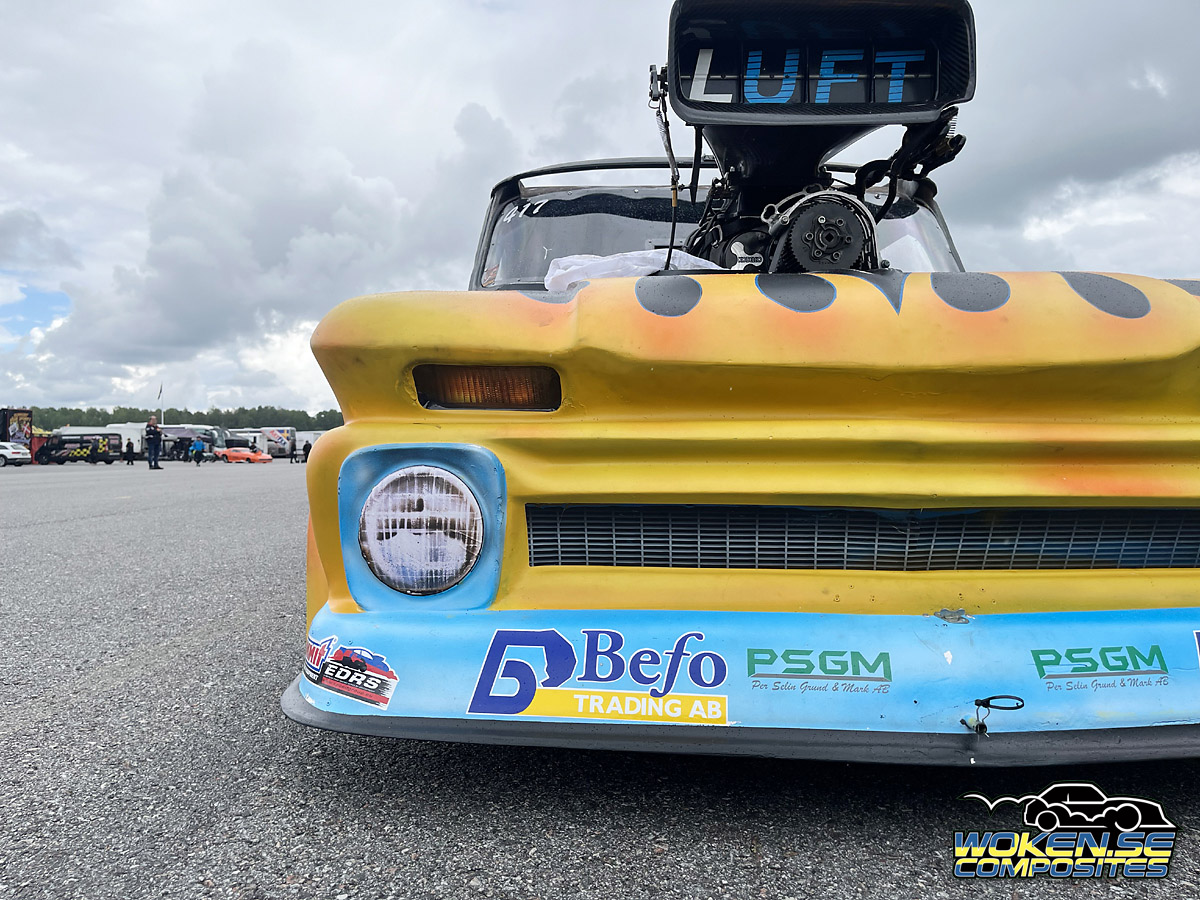
Fredrik Fagerström, aka Fast Fred, needed some weight reduction.
His old front have ben around a good while. First setup for a supercharged engine,
changed for turbo intakes and then back to supercharged. Above the different engine combinations
the car have rattled, had massive tyreshake, ran on two wheels and even got a new chassis made.
This front end have really ben through allot. It have ben repaired on several occassions.
Now it was really time for a new front end.
Fred had a fire in his garage which unfortunately destroyed the moulds.
Making new moulds from his old one was a challenge in itself.
In order to save weight air bubbles and other imperfections in the cast was not corrected.
Instead paint artist Ray Hill added something that looked like rust in tho's areas.


Since I didn't know how all custom paint would behave I used a classic PVA release agent.
It affects the paint slightly, but it will always release. (Sooner or later)
Making the moulds was a fairly straight forward action.
To make the cast stronger than the original part I added a radius around the opening around the engine.


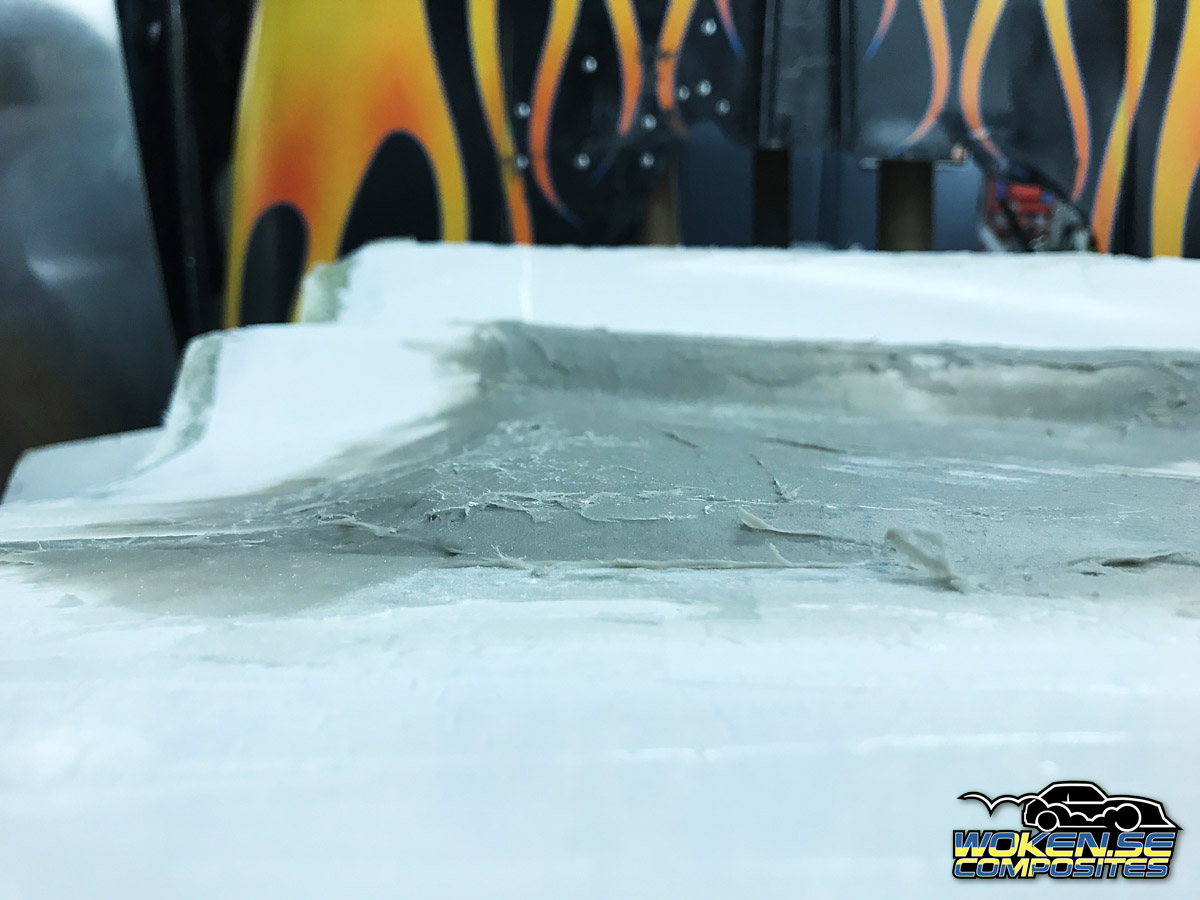


Allot of putty and work on the moulds before I could put them to work.
To seal in all putty and get a fairly solid surface to cast from I spray painted the moulds with topcoat.
From a distance they looked pretty ok, but I am a pretty lousy painter.
Orange peel texture, drops and all kind of mishaps. Many hours of grinding and polishing made them okay.

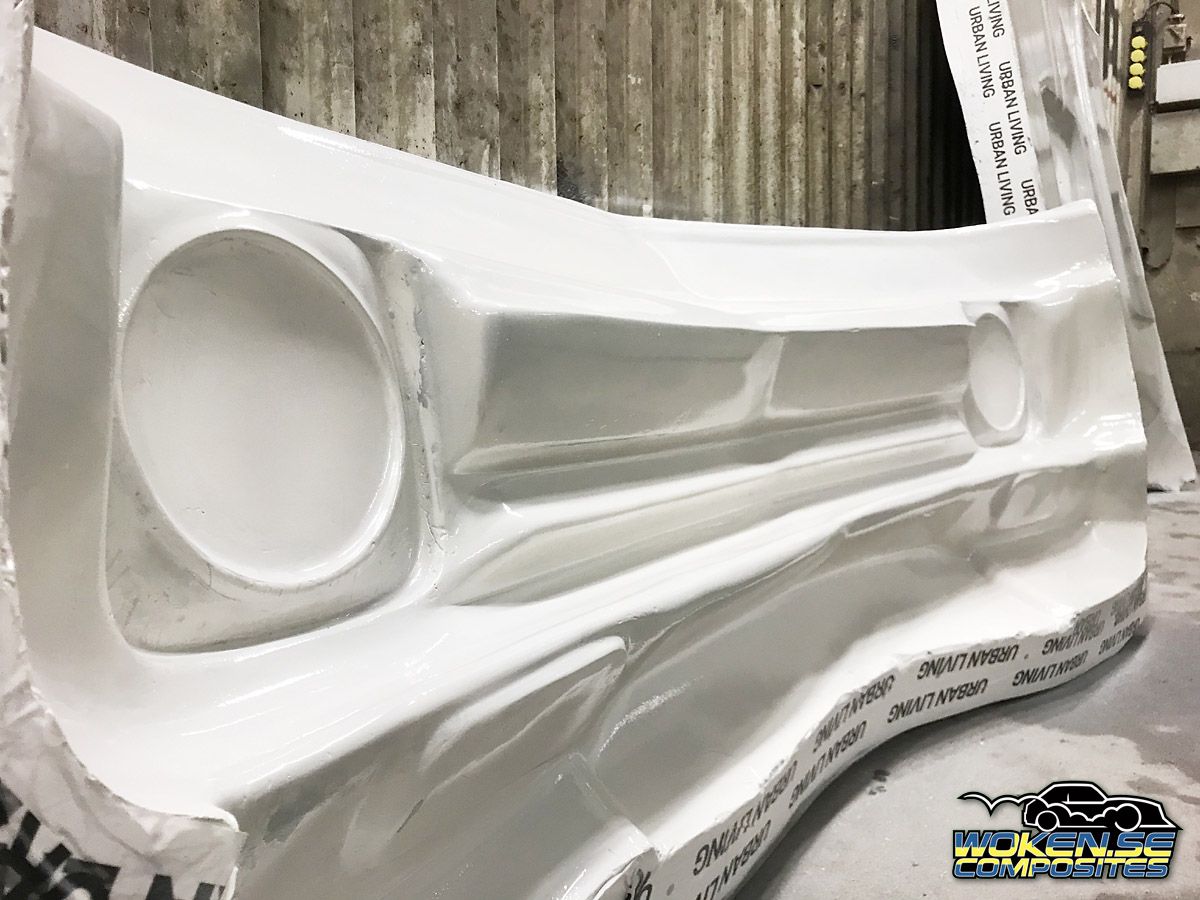


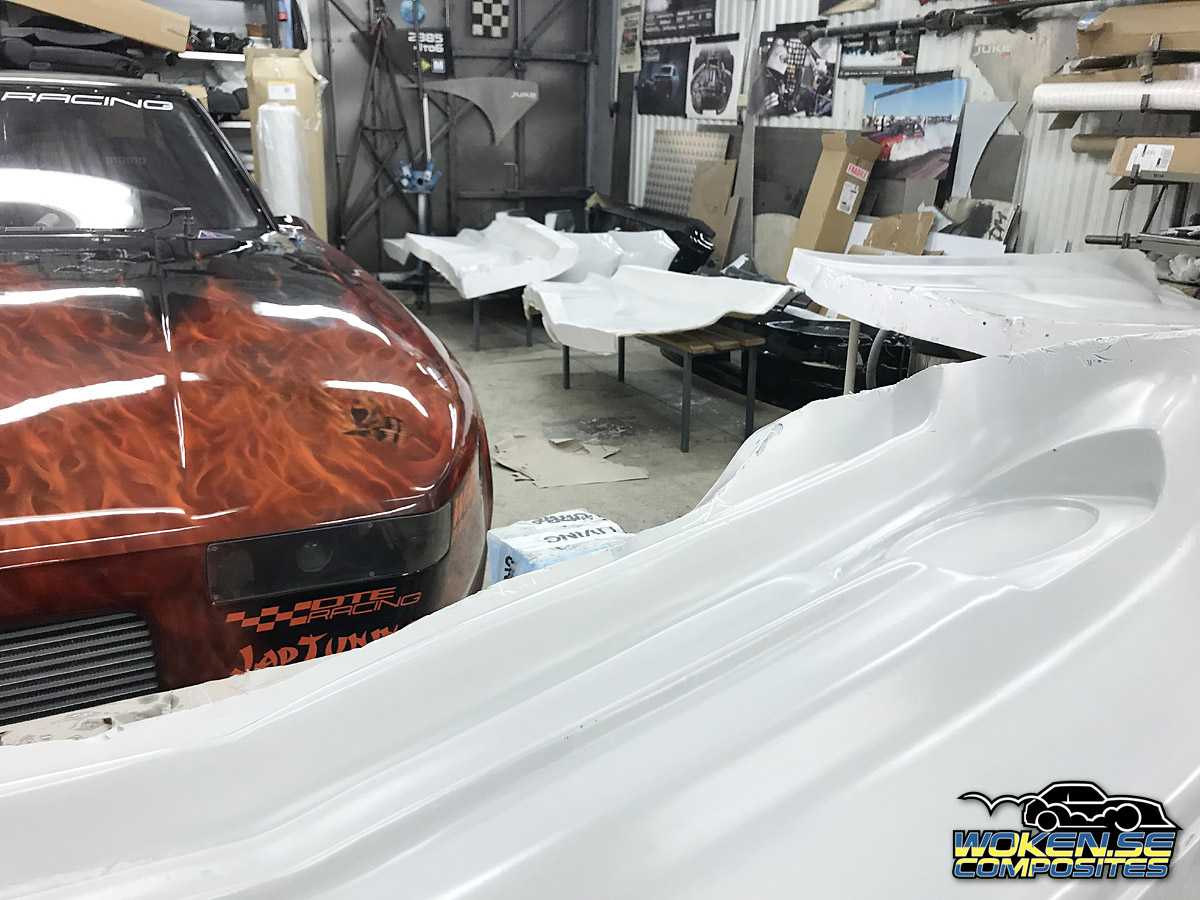

As the moulds looked okay, it was time to bolt the pieces together.
Sometimes the transition between the parts can be really poor. Either with steps in heights
or deep ditches that need to be filled. Luckily I made the parts so good I didn't even need to tape them.
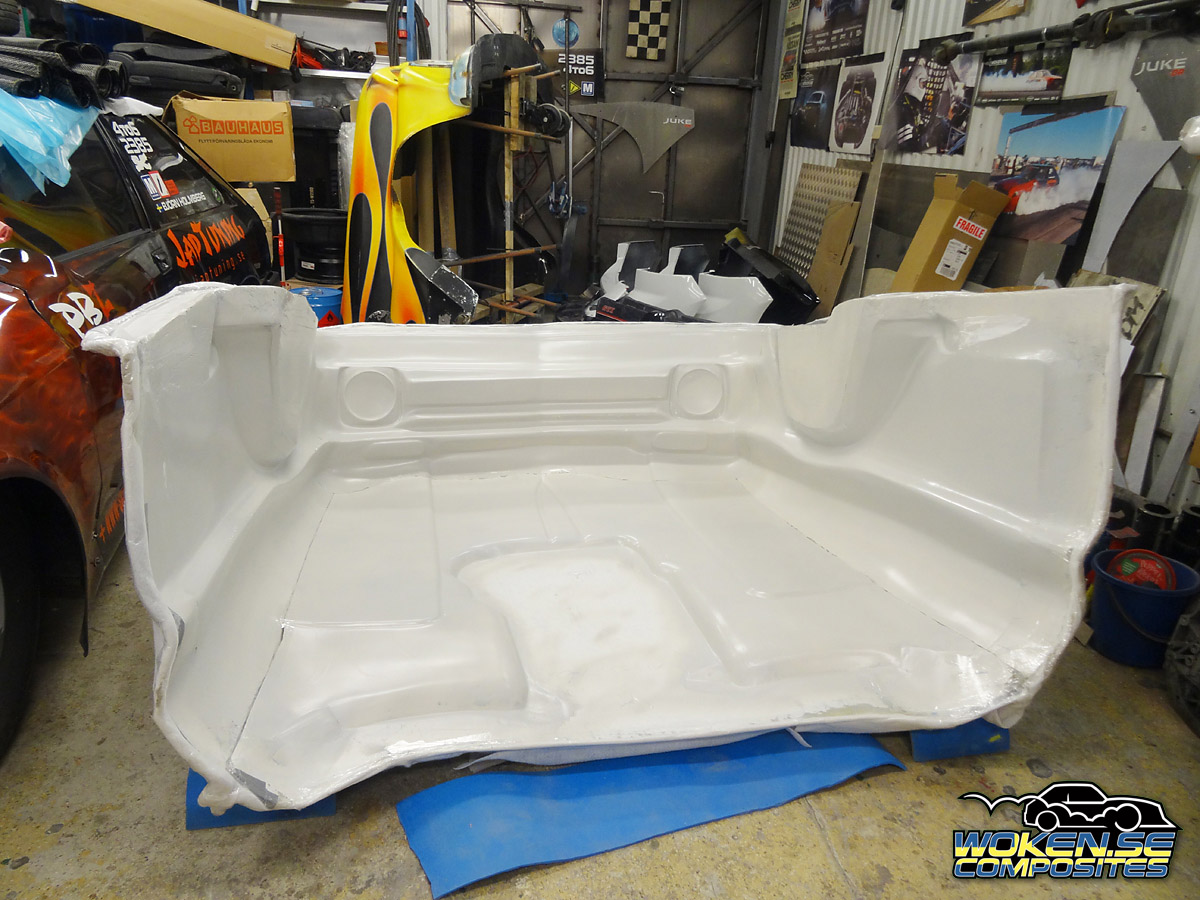

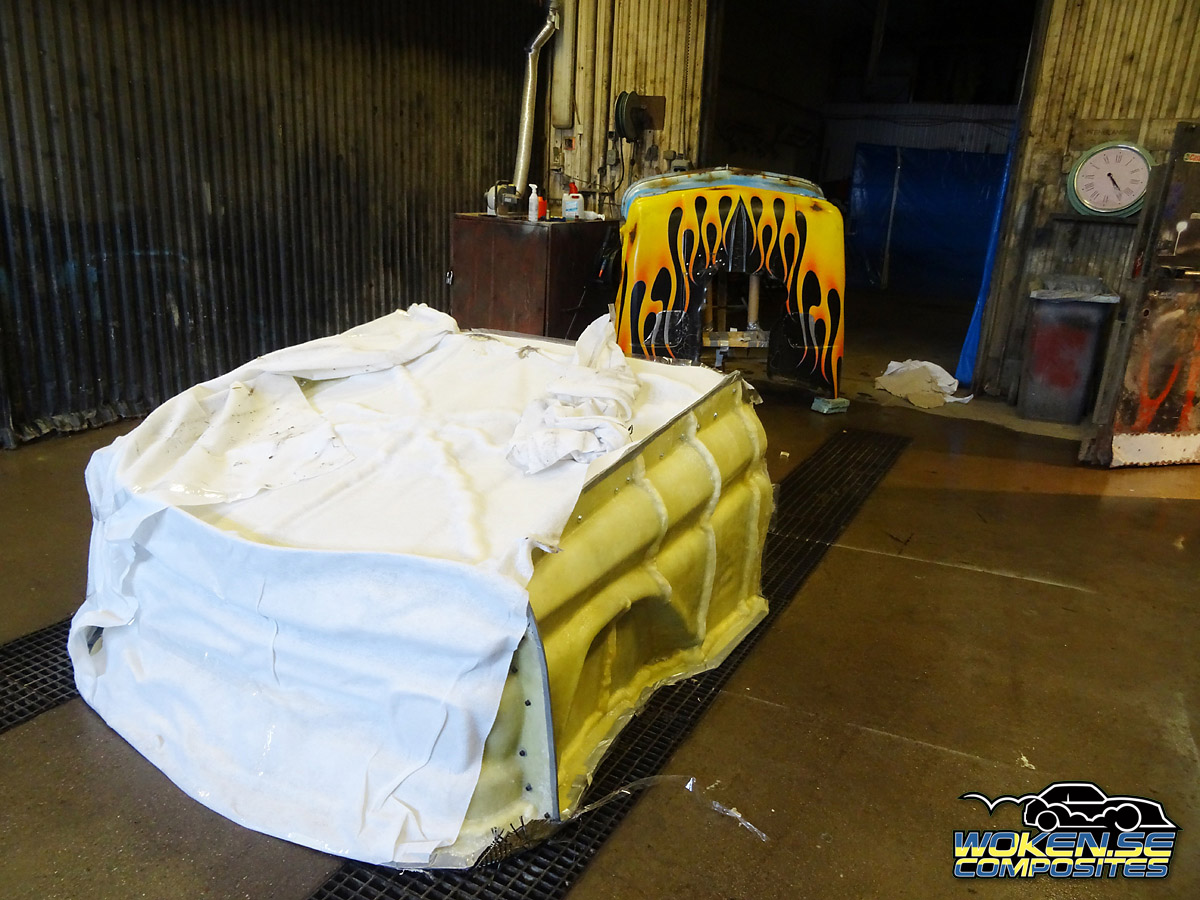
After putting the pieces together I isolated the outside with breather cloth.
To prevent the vacuum from escaping through the parts I'm making an envelope bag
and there is always a risk of some fibres or other sharp edges to puncture the outside of the bag.


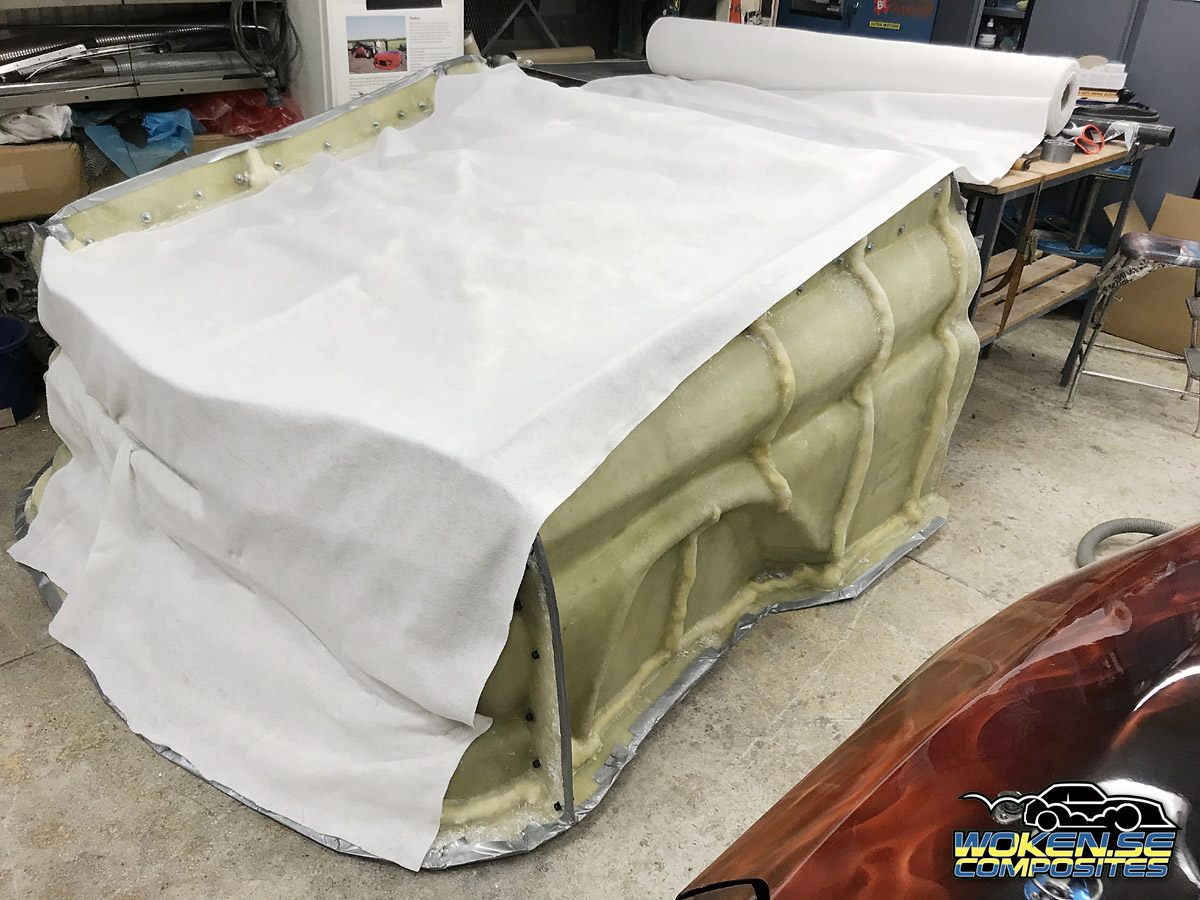

The casting was a whole day work for two persons. Me and my friend Nalle Nordman worked hard all day
so there was no time for any pictures during the process.
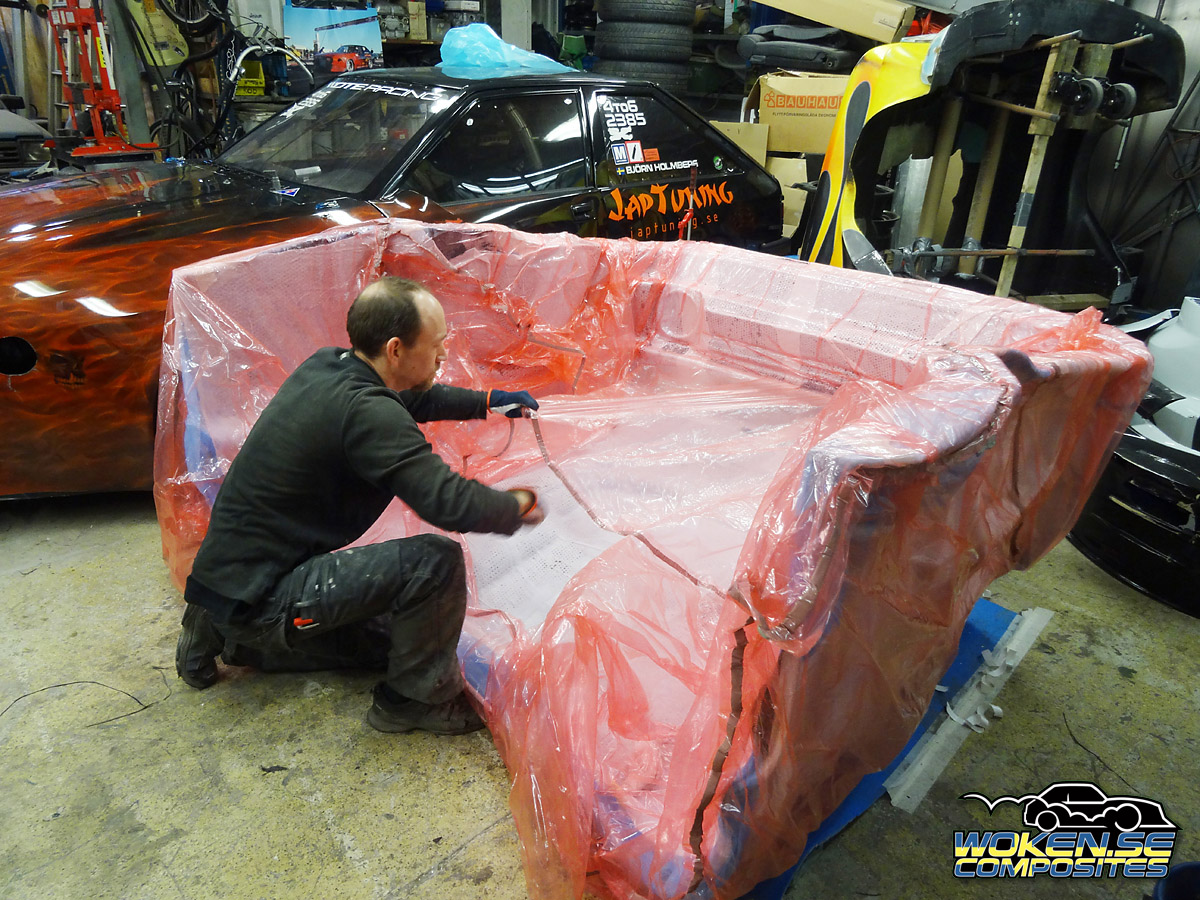
Here is a picture where we have put in all carbon and consumables.
Next step is to engage vacuum to press the carbon together and push any excessive epoxy out from the laminate and into the breather.


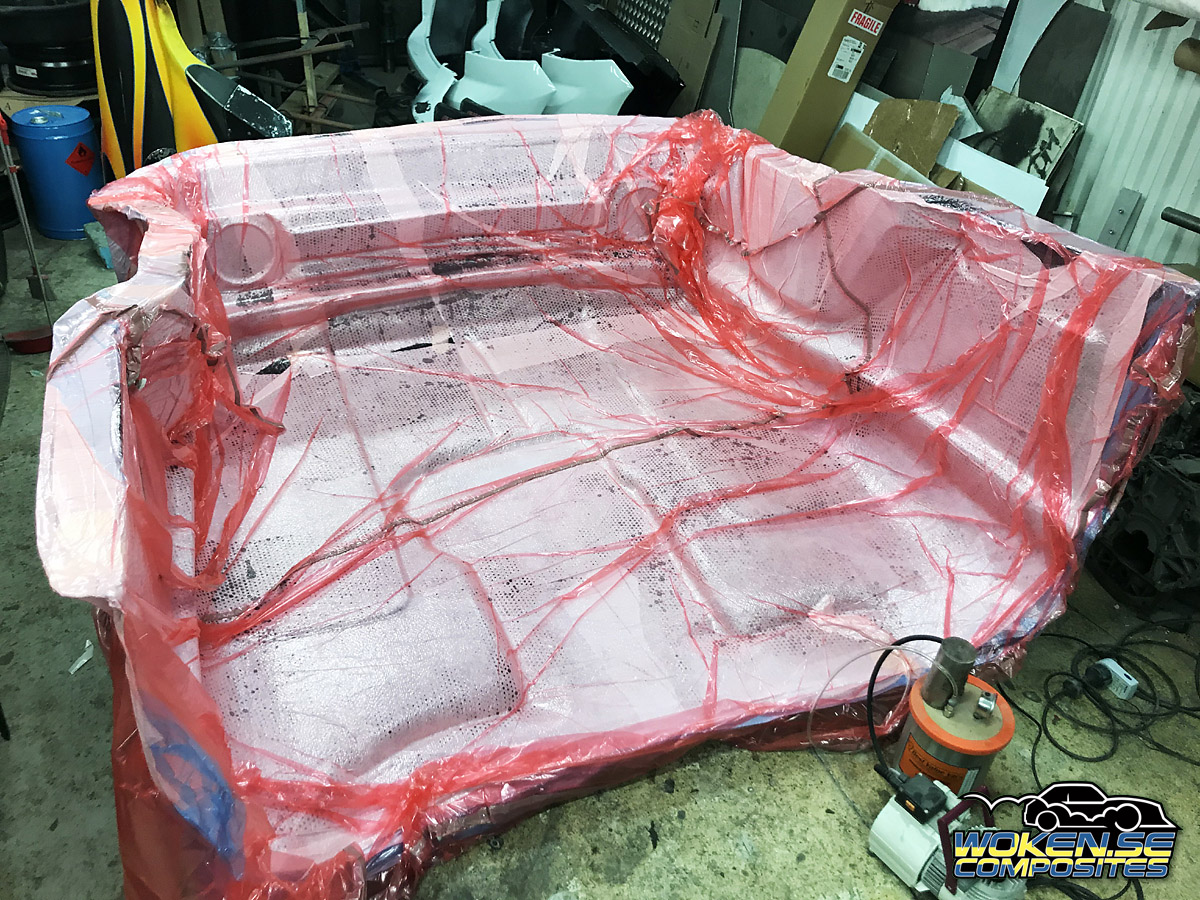

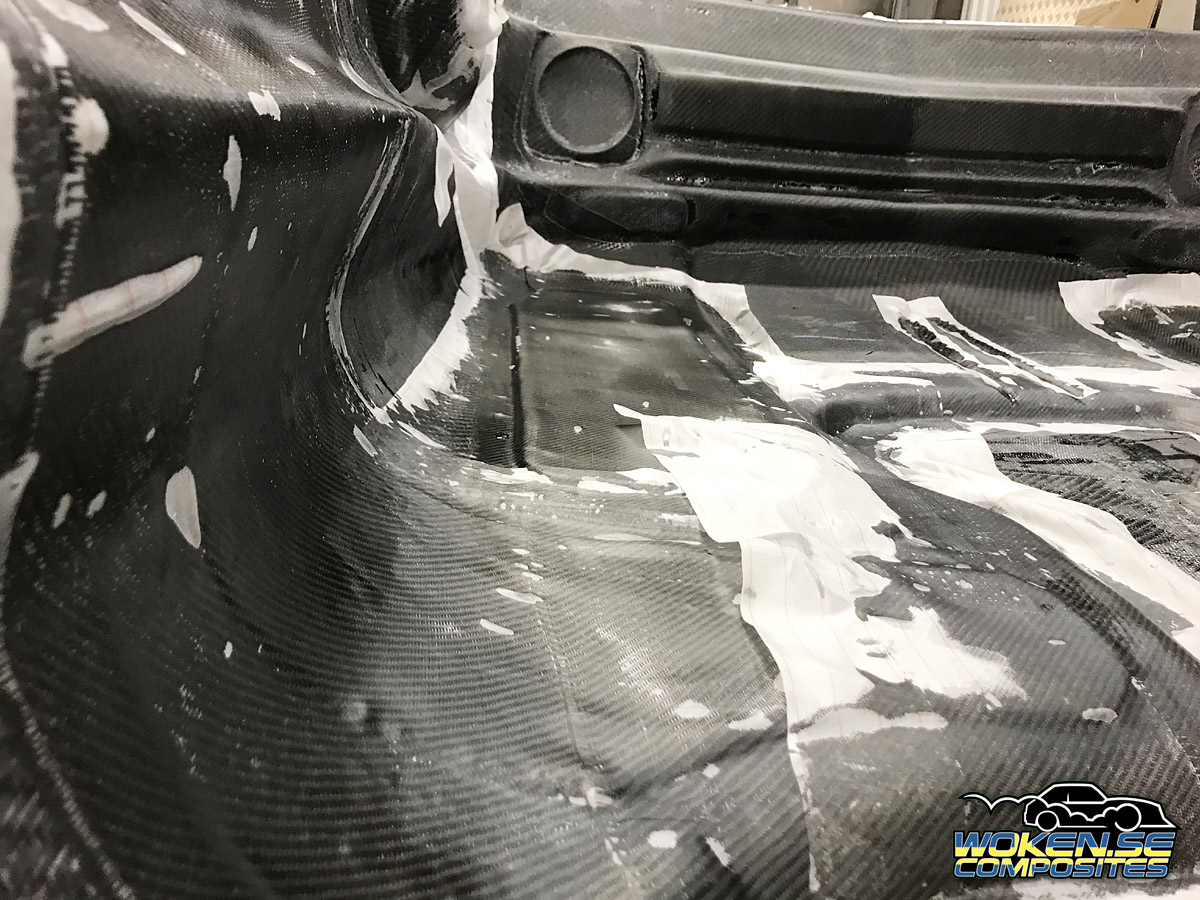
Two days after the casting it was time to strip it from consumables
and to start positioning the aramid honeycomb.
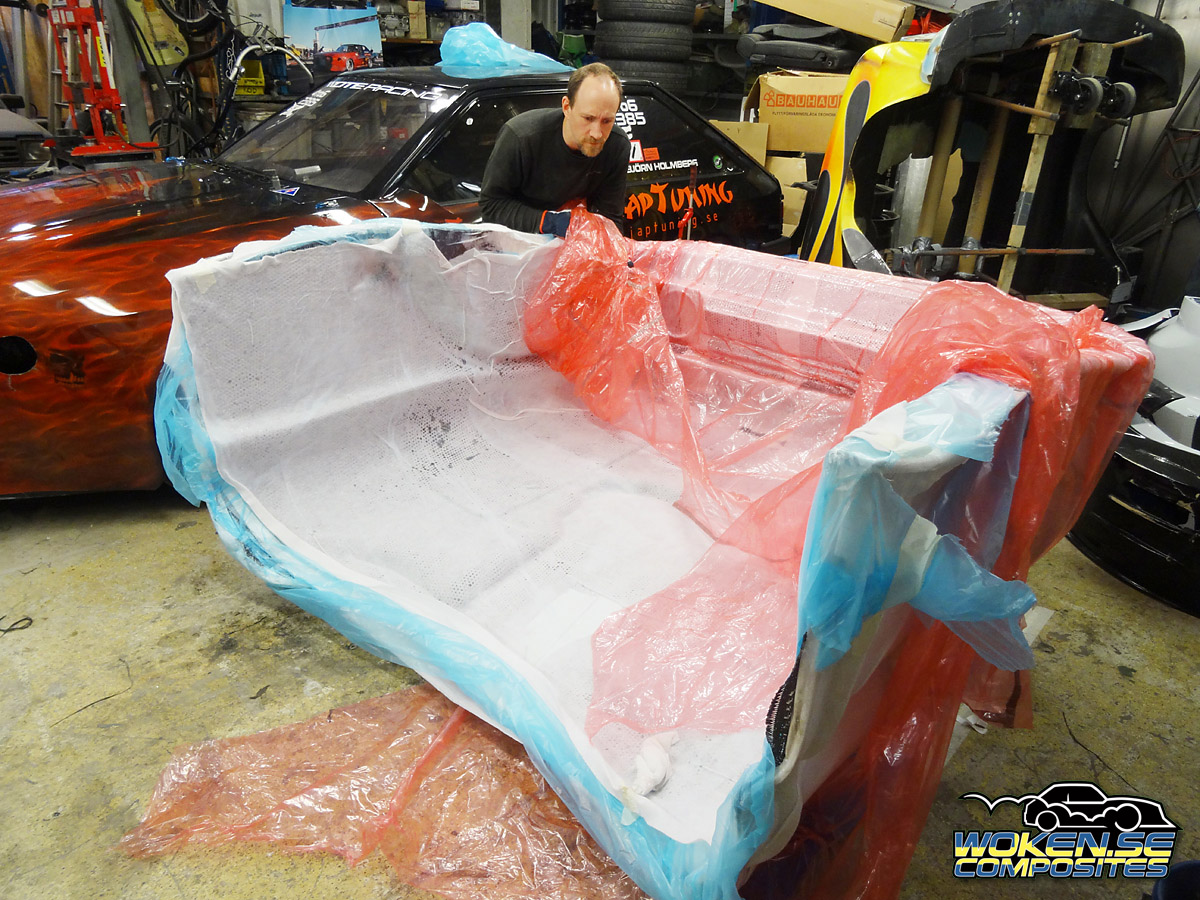


It is hard to get the carbon into all sharp corners.
Sometimes the most obvious parts are the hardest.
Here you can see where it will have an imperfection on the outside.


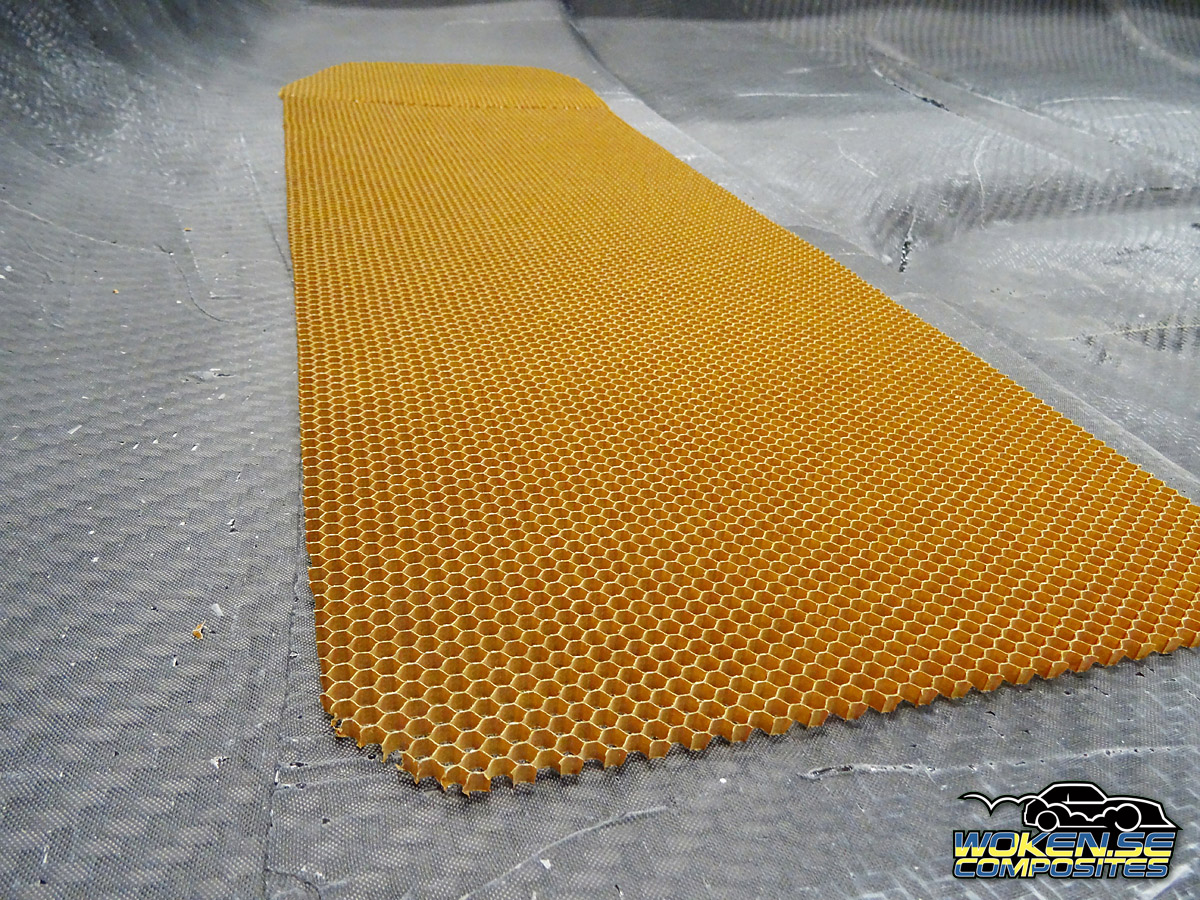
The aramid honeycomb I use here is 4,8x5mm.
First I glue the aramid in place, then I cover it with one layer of 210g carbon.


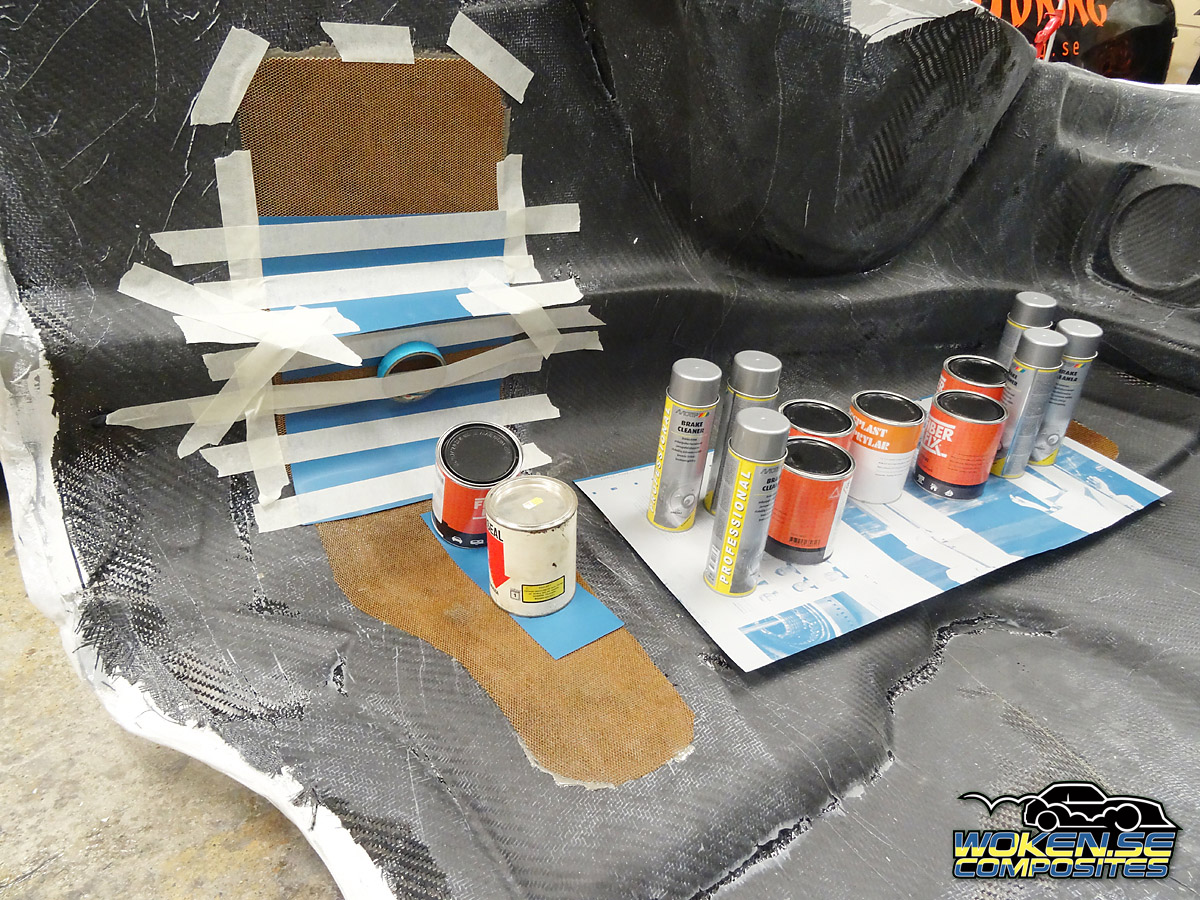




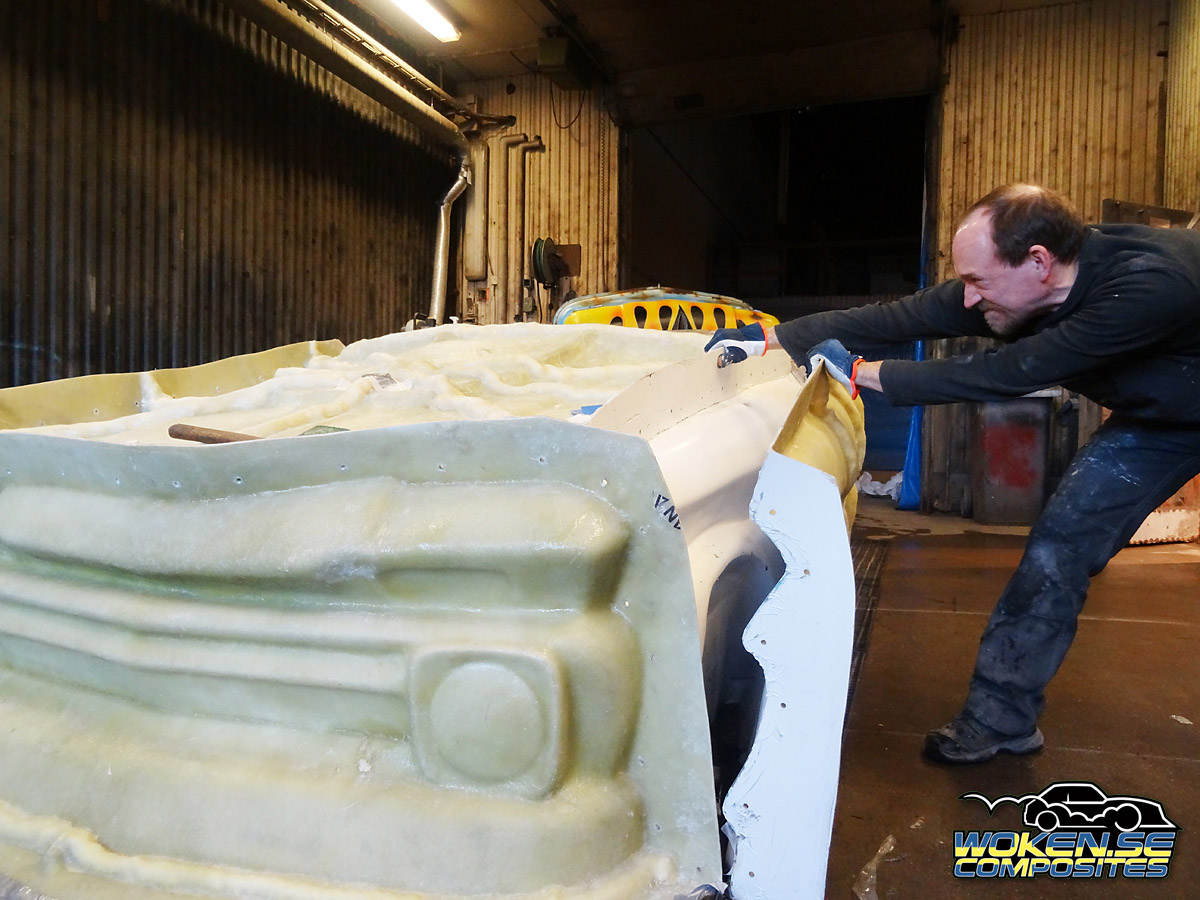
When all carbon has cured its time for opening the package.
Sometimes its easy, sometimes its not.
First I take out all bolts and nuts, and there were alot.
I used PVA for the cast too. PVA is solvable in water so sometimes
pouring in some water can help release.




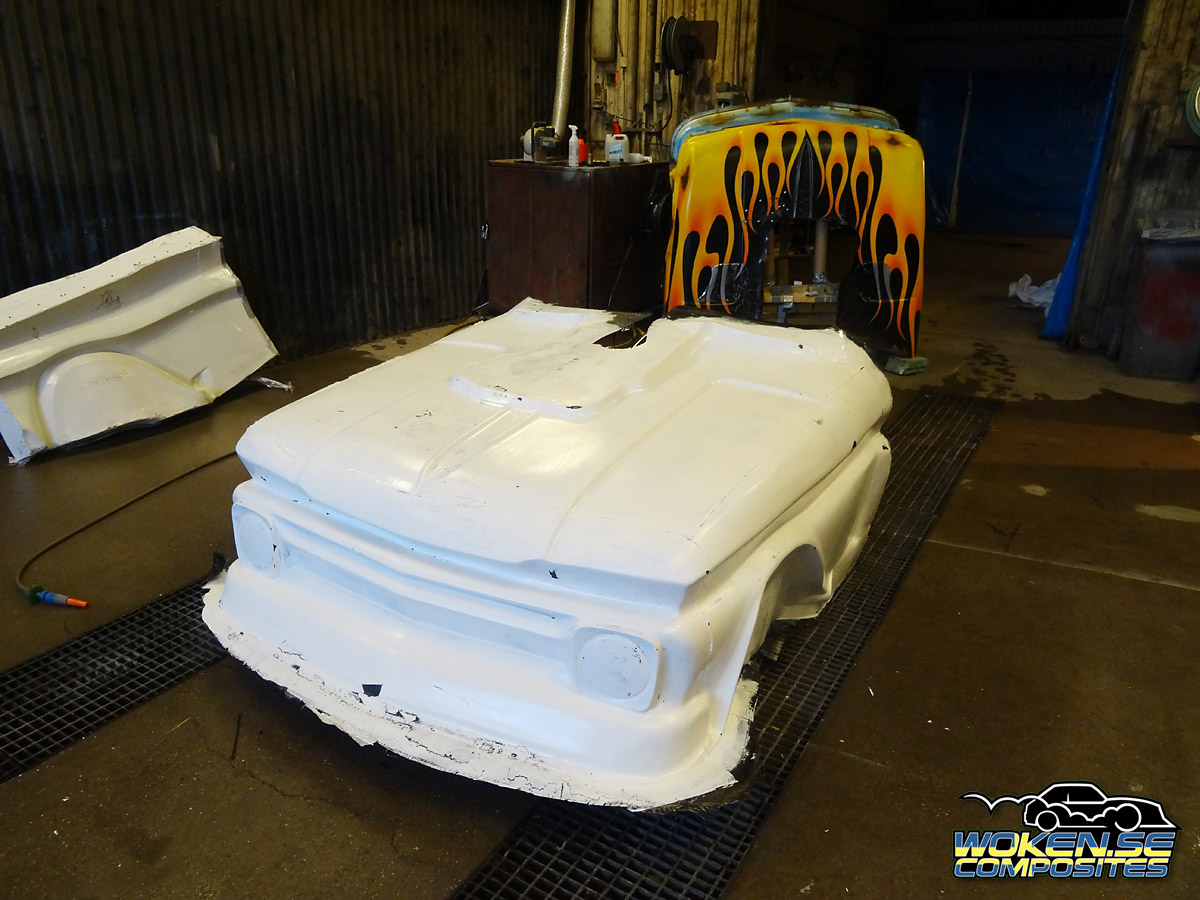
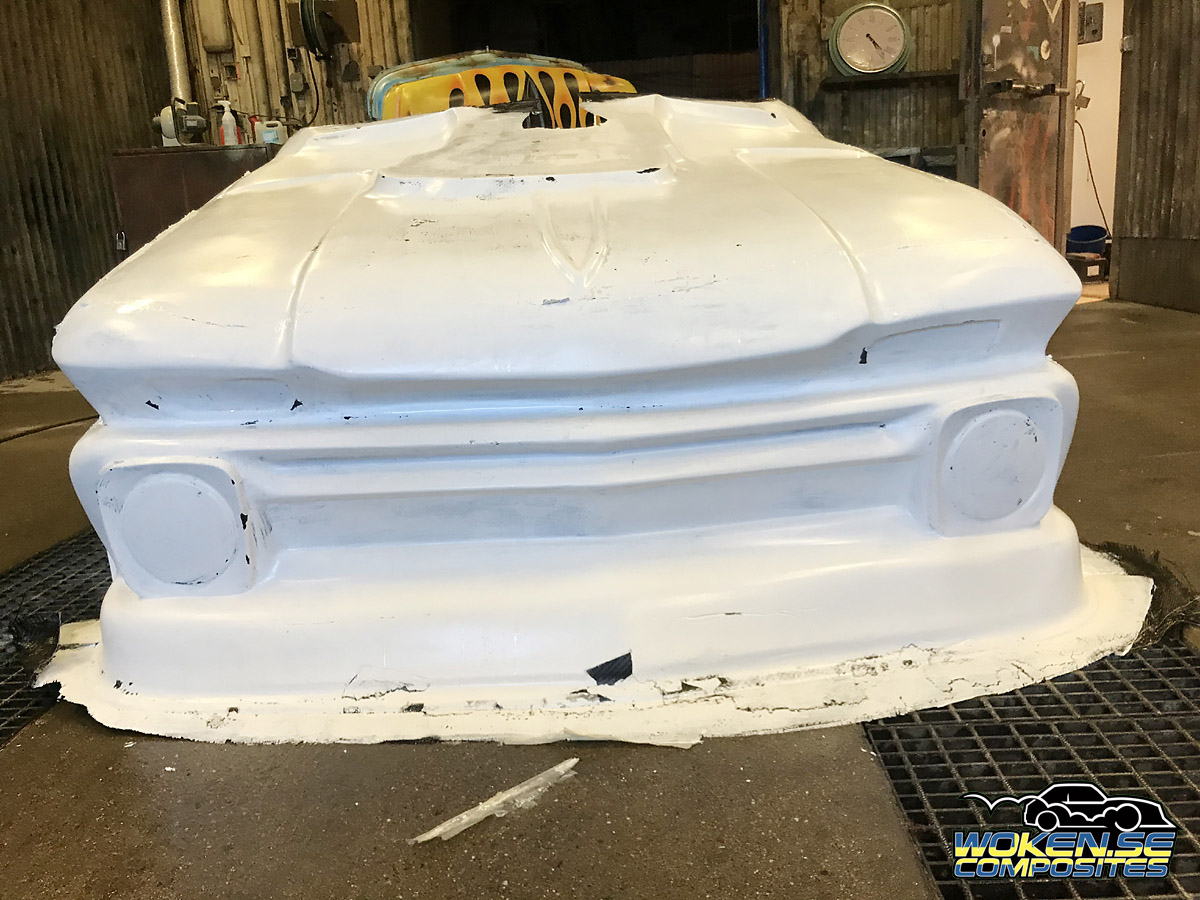


A carbon sheet should be added to the nose pice.
I made the sheet against a sheet oofglass.
I put the carbon sheet and the front on some plywood and simply crawled into the front and glued them together.
I added a lace as a reinforcement before I laminated the parts together with strips of carbon.


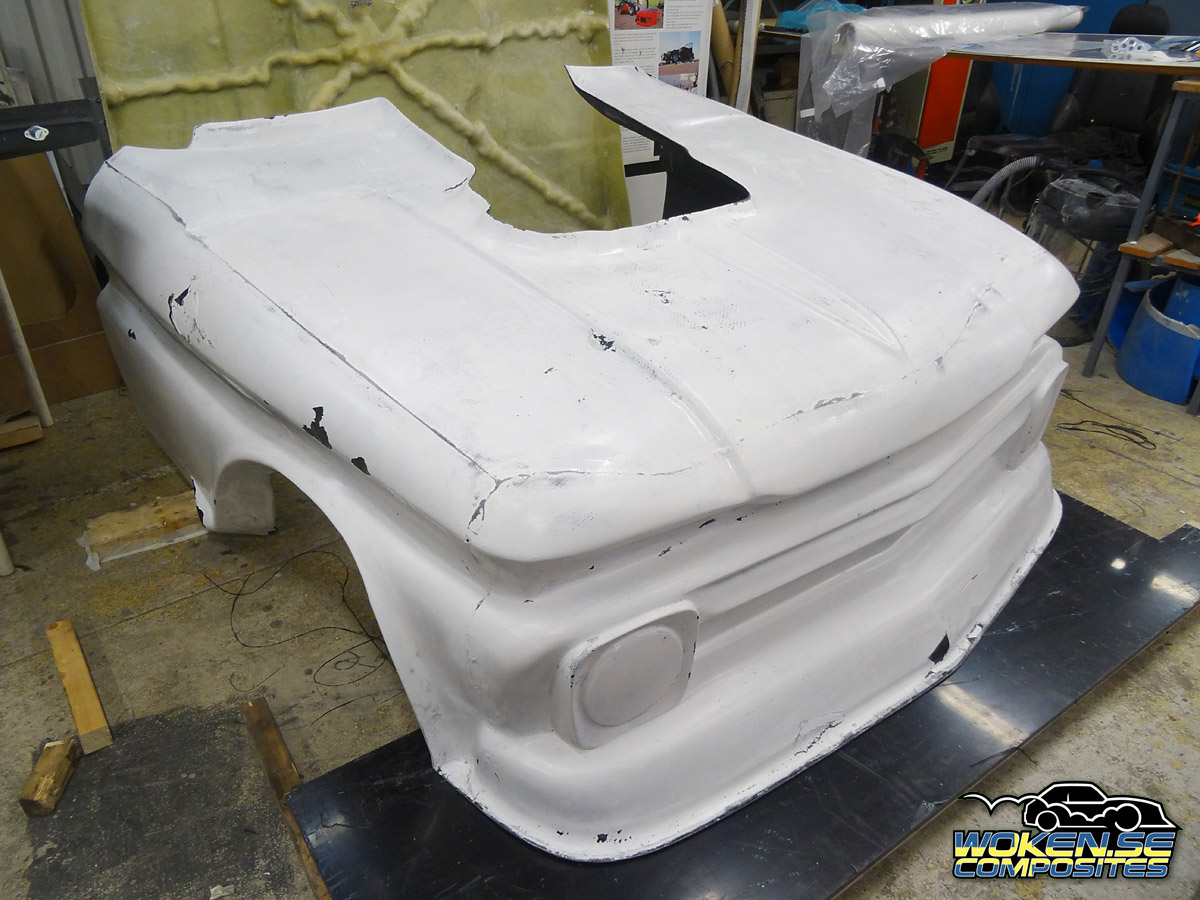

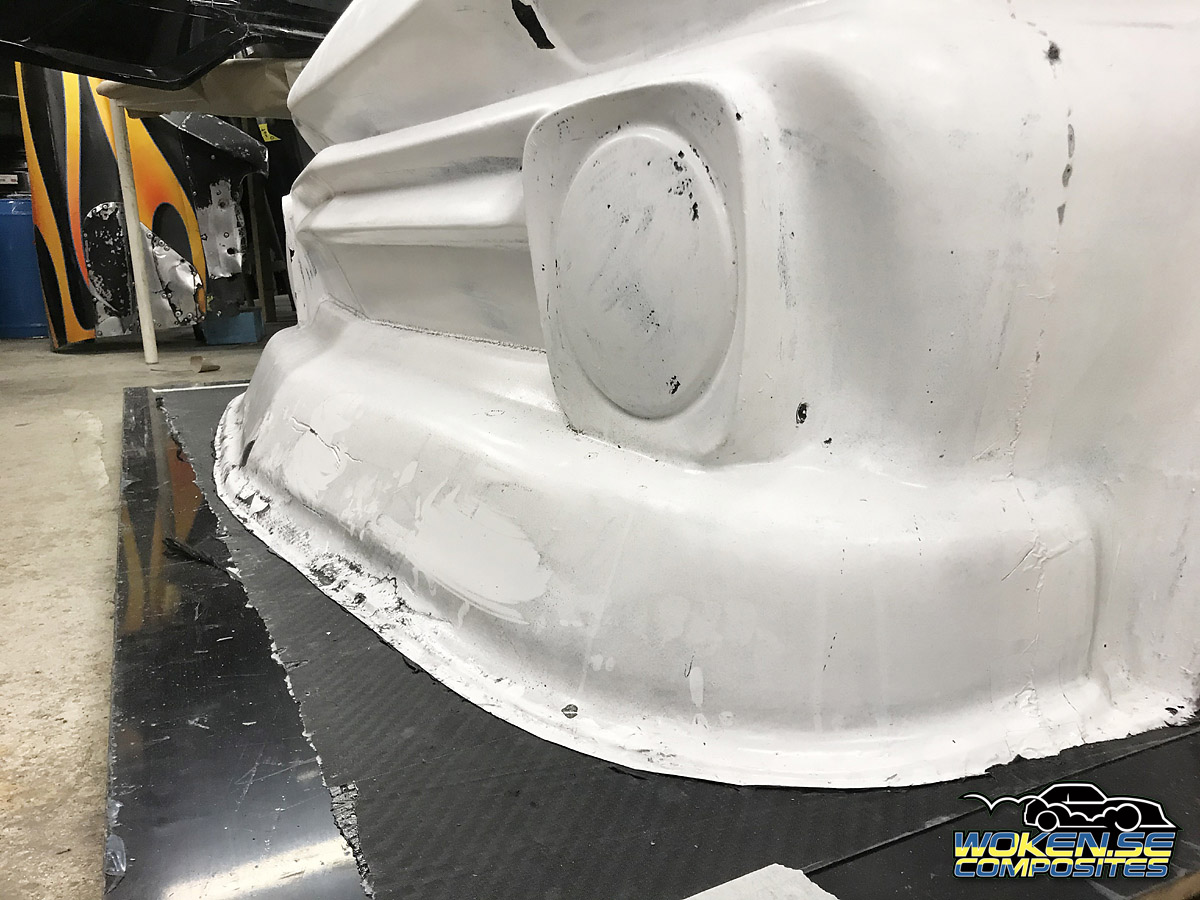


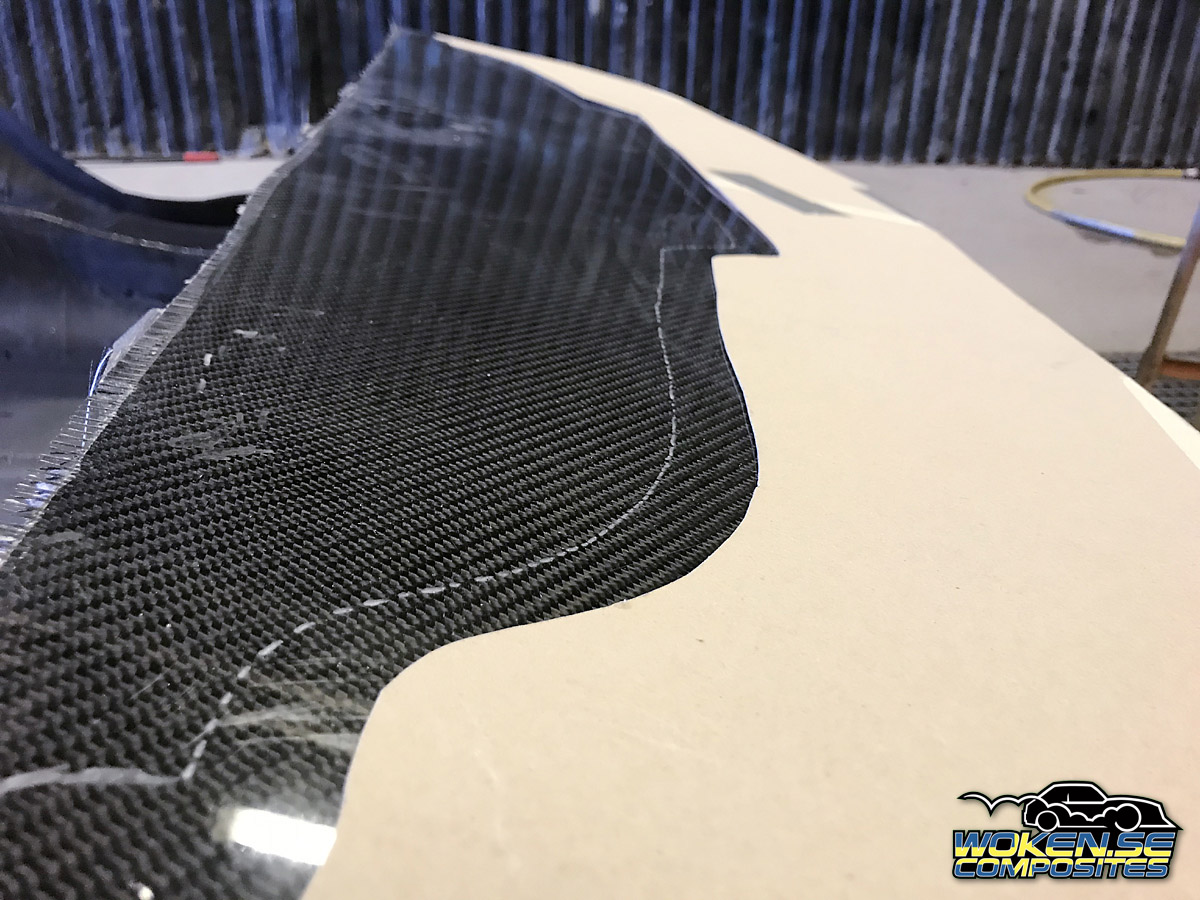
I made a template from the old front and marked where to cut the new sheet.



EApartfor the color its pretty much an exact copy.
EExceptedfor the weight and the radius around the engine hole.
The new front only weights 12kg when Fred picked it up.


Weight of a tree, paint and putty will obvious add some weight.
When Fred had fabricated a new tree I went to his shop to fasten it into the front.


Some years later Fred had convinced paint artist Ray Hill to paint it to look just as the old one.
The most obvious differences is that the bumper now is just simply blue and my radius I added around the engine.
Ray didn't have time to paint new lights or grille so Fred took a photo of the old lights and I made stickers.
I also made a sticker for the grille from what I had drawn for previous projects.